After configuring SSL for my App Volumes environment, I went straight through installing a self signed certificate for Horizon View.
Setting up SSL for your Horizon View environment is a real simple task. In my case I have an Enterprise Certificate Authority in my lab. If you need guidance on how to do that, click here.
The next step is importing or requesting a new certificate on the Horizon View Connection server. As said, I have a Certificate Authority in my lab so I will request a new certificate from the CA.
Follow the steps below to set up SSL for Horizon View.
- Open MMC.exe
- Click File -> Add/Remove Snap-in… -> Select Certificates -> Add
- Add Computer Account
- Open Personal > Certificates
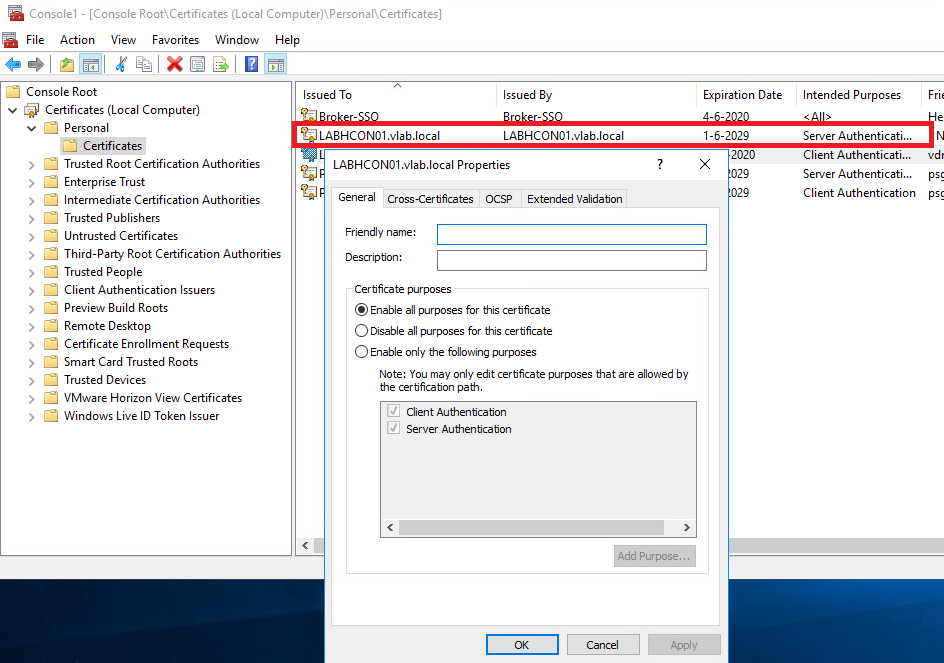
- Select the certificate issued by your connection server, open properties and remove “vdm” at Friendly name and click OK.
- Import or request a new certificate.

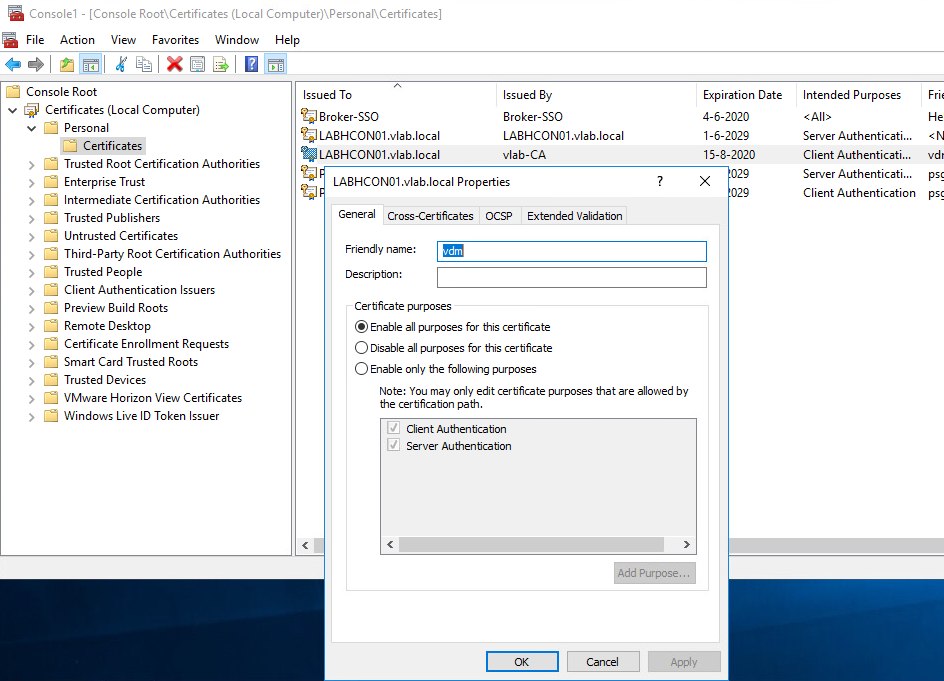
- When the certificate is installed, select the certificate and click Properties.
- Now add “vdm” in the Friendly name box and click OK.
- Finally you need to restart the Horizon View services in order to use the new certificate.
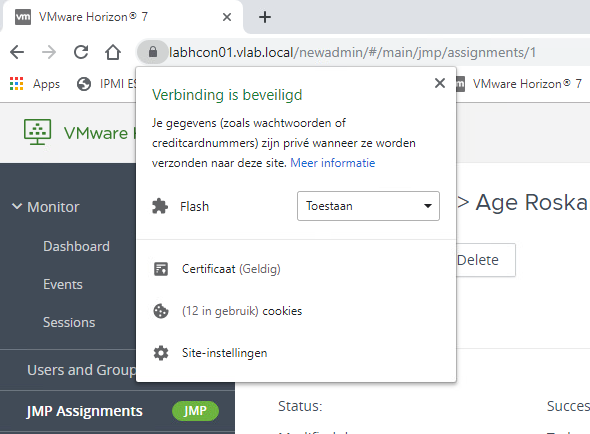
- When the services are restarted, or you have rebooted the Horizon connection server, start a browser session to the Horizon Management Console and enjoy the green sign notifying you your connection is secure.


Je moet ingelogd zijn om een reactie te plaatsen.