VMware App Volumes provides a system to deliver applications to desktops through virtual disks. Applications are bundled in AppStacks and delivered by attaching a standard VMDK file to a virtual machine. Applications delivered by using App Volumes look and feel natively installed and you can update or replace the applications in real-time. You can centrally manage the applications with the App Volumes Manager and there is no need to modify the desktops or individual applications. In this guide I will show you how to install and configure the App Volumes Manager.
System Requirements
Ensure that your system meets the following software and hardware requirements before you install App Volumes
Hardware
– 4 vCPU required
– 4 GB RAM
– 1 GB disk space
Software
– It can be installed on Windows Server 2008 R2 (Standard, Enterprise or Datacenter) or Windows Server 2012 R2 (Standard and Datacenter). It also requires .NET 3.5 framework.
– The App Volumes database requires Microsoft SQL Server 2008 R2 SP2 or Microsoft SQL Server 2012 SP1 (Any version, including Express).
– It’s preferred to use VMware VSphere as hypervisor. You can use VMware ESXi 5.5.x, 6.x and vCenter Server (ESXi and vCenter Server must be the same version)
Installation App Volumes Manager
You can download the .ISO from the VMware website, click link
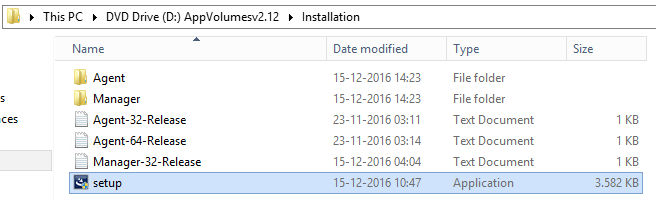
When the .ISO file is mounted on the VM, open the explorer and start the Setup.exe
When the installation is launched, the welcome wizard appears. Click next to continue.

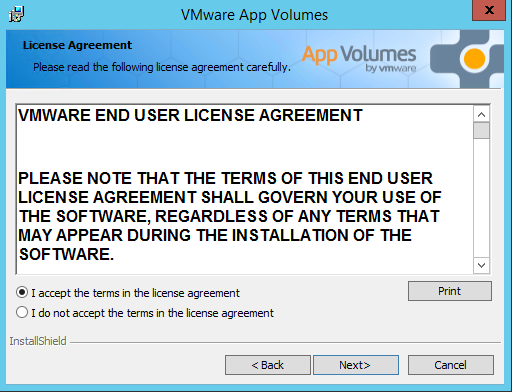
Select I accept the terms in the license agreement and click next.
Choose Install App Volumes Manager and click Install.

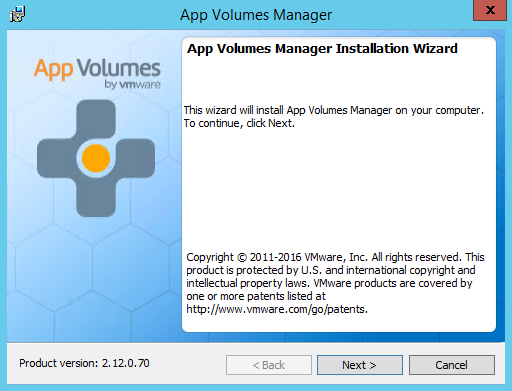
Another welcome wizard appears, this one is specific for the App Volumes Manager, click next to continue.
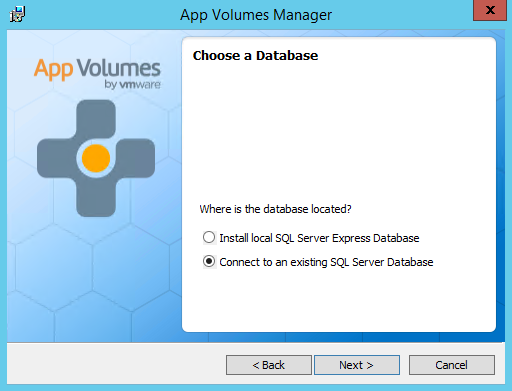
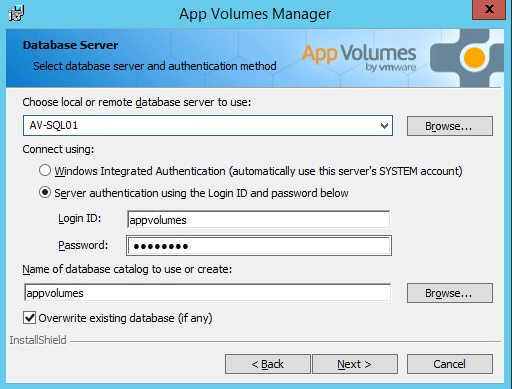
Depending on your environment you can choose to install SQL Server Express or connect to an existing SQL Server. I my case I have an SQL server running, so I chose to connect to an existing SQL Server Database.
On my SQL server I’ve created a Login ID for the App Volumes Manager.
Enter the SQL server name or IP-Address, Login ID, Password and the name of the database you want to create or use.
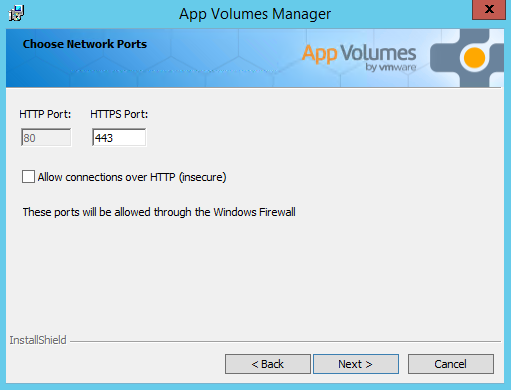
You can choose to enable HTTP traffic and change the ports as you like. I used the defaults and clicked next.
You have the possibility to change the location of the installation. Click next to continue.

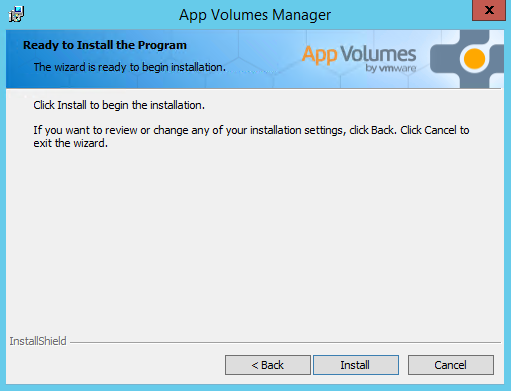
Click Install to start the installation.
After that the installation will start and if successful you should see the following screen. Click finish to finalize the setup.

On the desktop you should notice a new icon.
Configure App Volumes Manager
Use App Volumes Manager on one of the following supported browsers:
- Internet Explorer 9 or later
- Mozilla Firefox 28 or later
- Safari 5.1 or later
- Google Chrome 21 or later
When you login for the first time you will be prompted to do the initial configurations. Click Get Started.

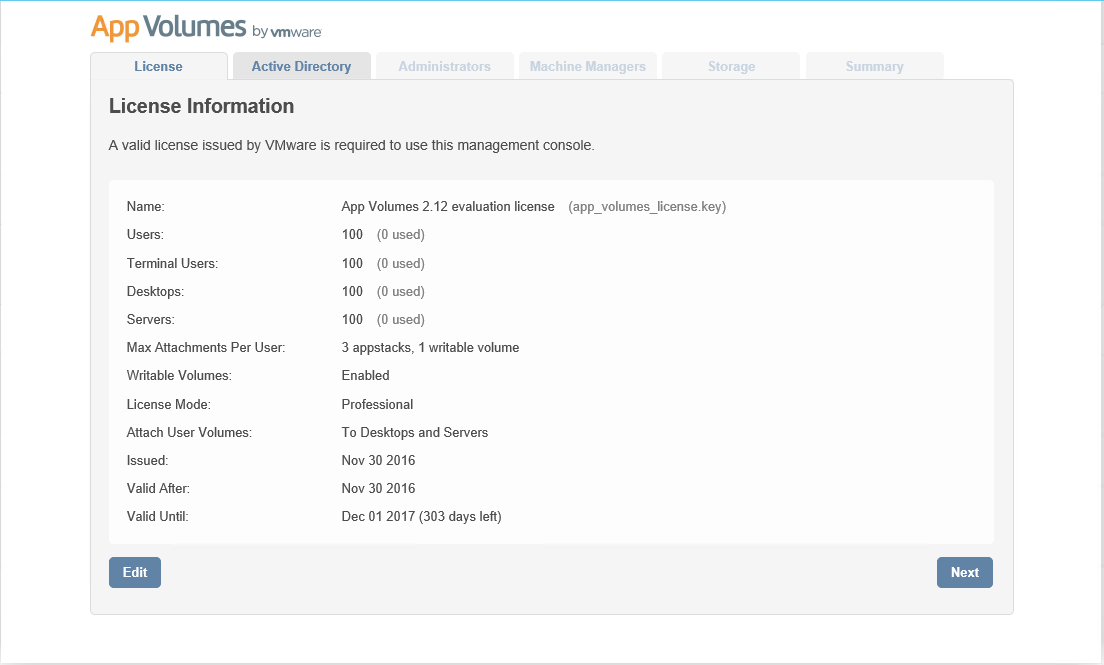
On the license screen you can use the evaluation license which has some limitations but it is enough for a lab environment. I have a license, so I click edit to add the license. Otherwise click next and skip the next step.
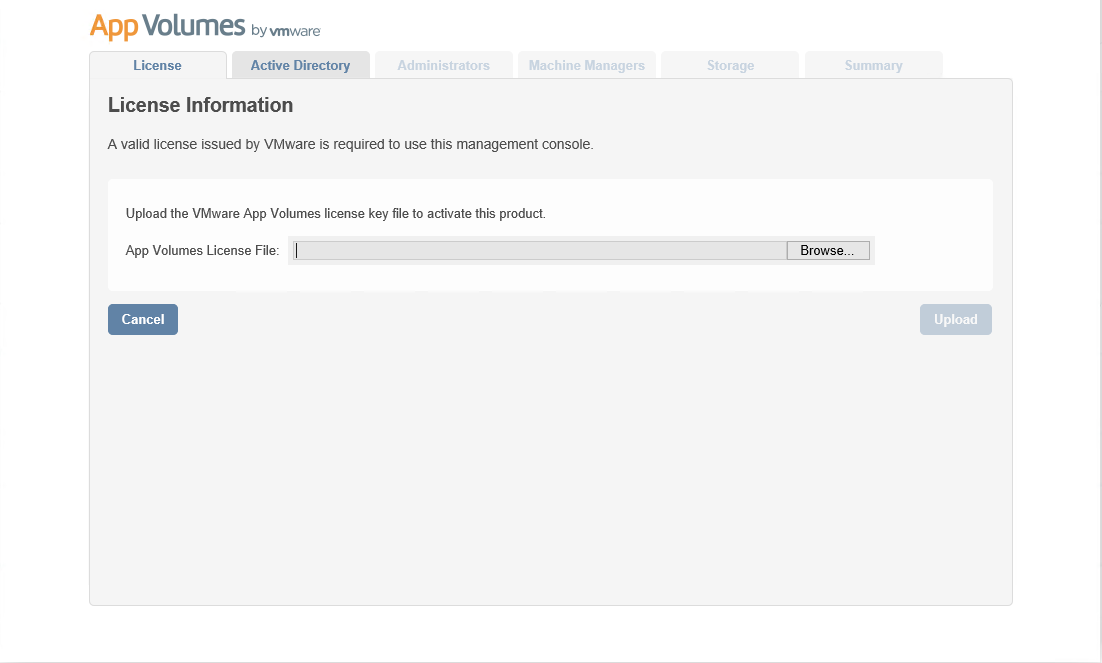
Click browse, select the license key and click upload to add the license to the server.
Once the license is added, you are redirected to the license tab and the details of the added license. Click next to continue.

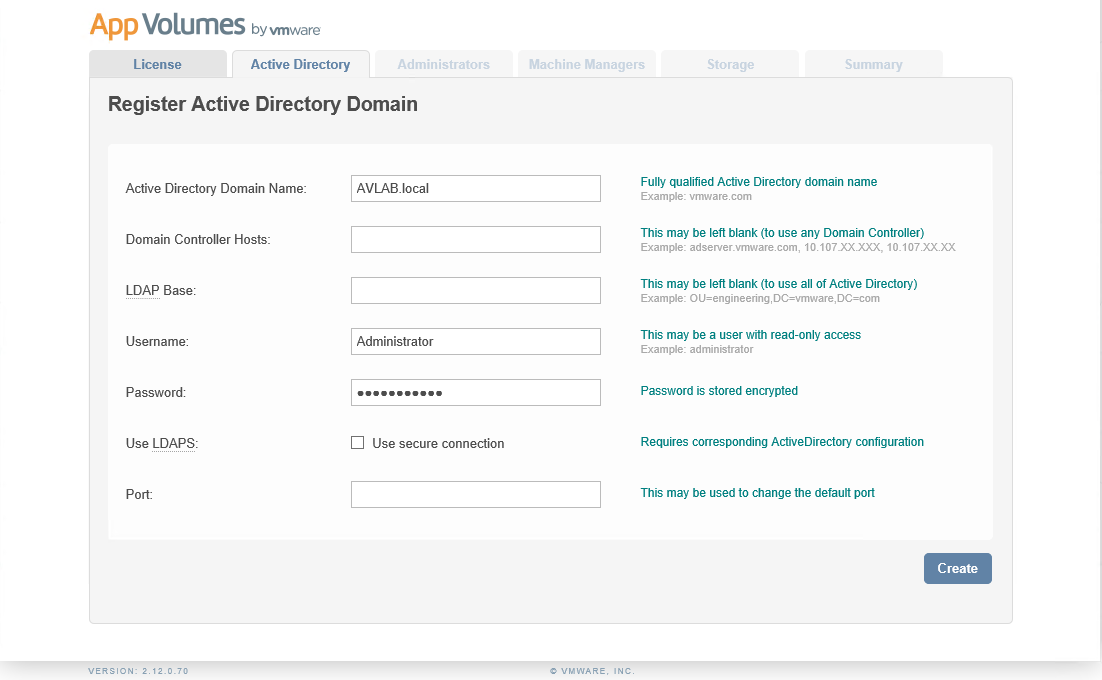
To connect the App Volumes Manager to the Active Directory you only need to fill the following fields: Active Directory Domain Name, Username and Password. Once you have filled the needed fields, click create.
In the Active Directory tab you will see the registered domain, click next.

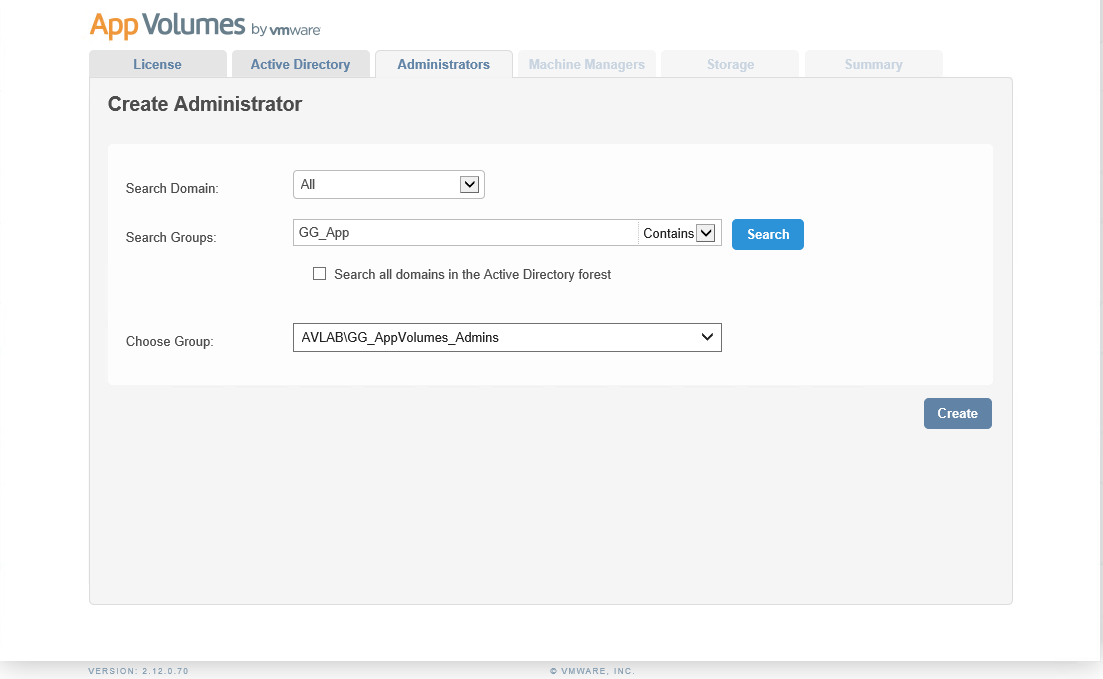
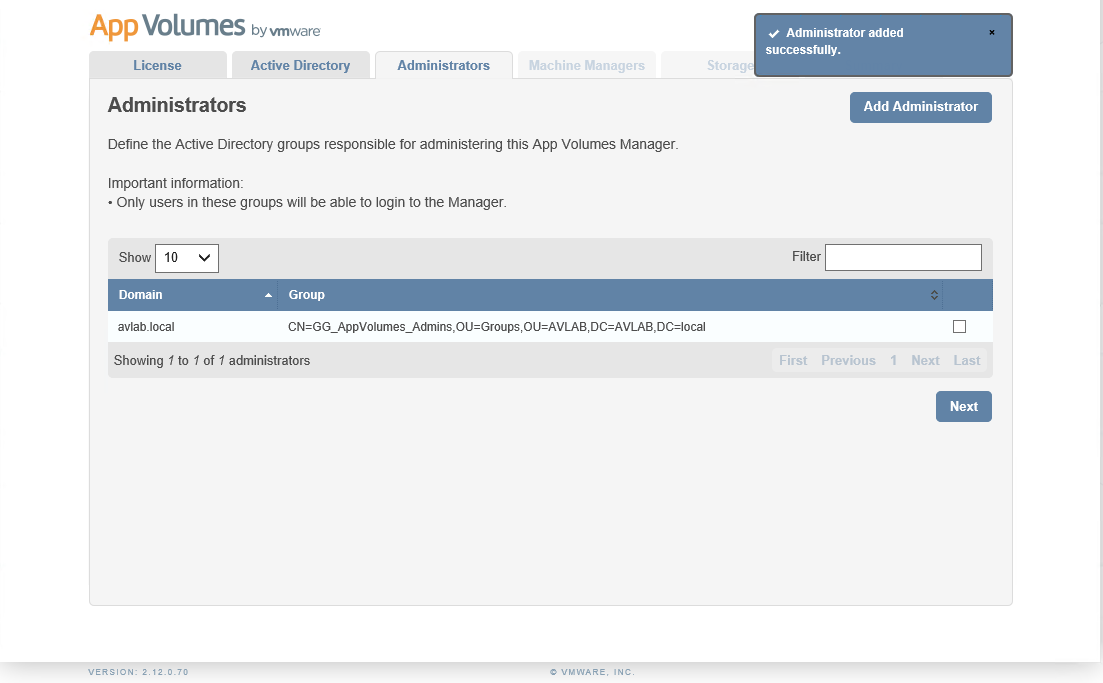
Administrators who need access to the App Volumes Manager need to be a member of a security group. First you need to type some search criteria, after that you are able to select the security group from the results. Click create to add the security group to the App Volumes Manager.
In the Administrators tab, you’ll see the added security group, click next to continue.
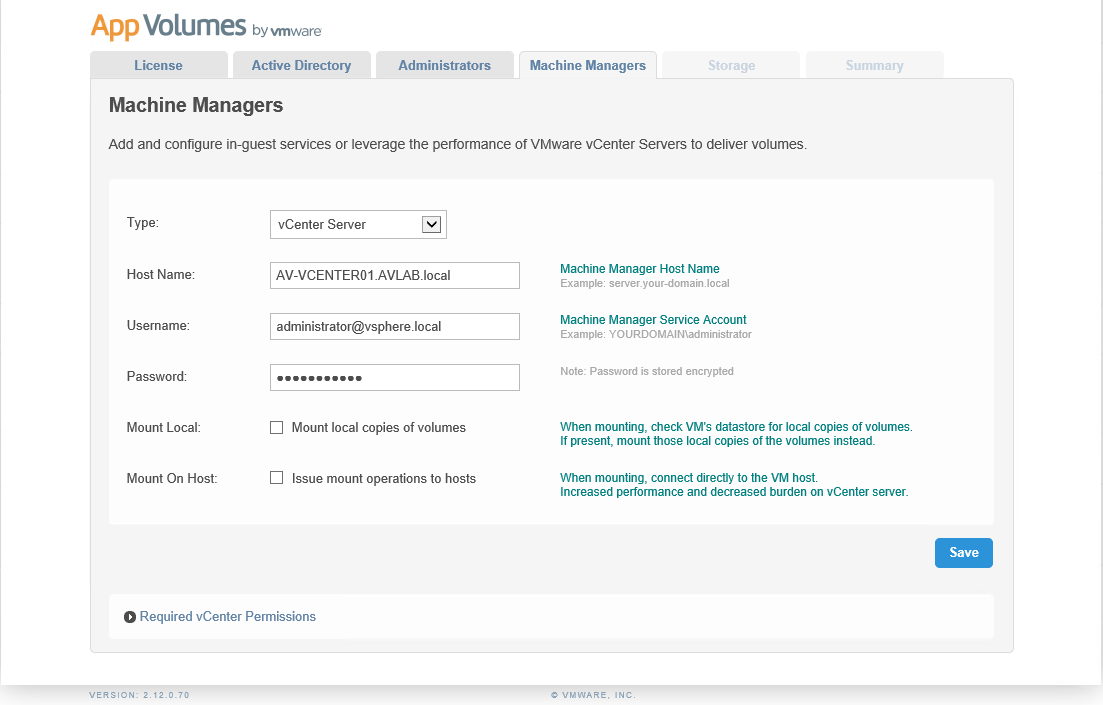
In the Machine Manager tab you can select between vCenter Server, ESX (single host) or In-Guest Services. I’m using a vCenter server, so I’ve supplied the Host name, Username and Password. Click save to connect the vCenter server to the App Volumes Manager.
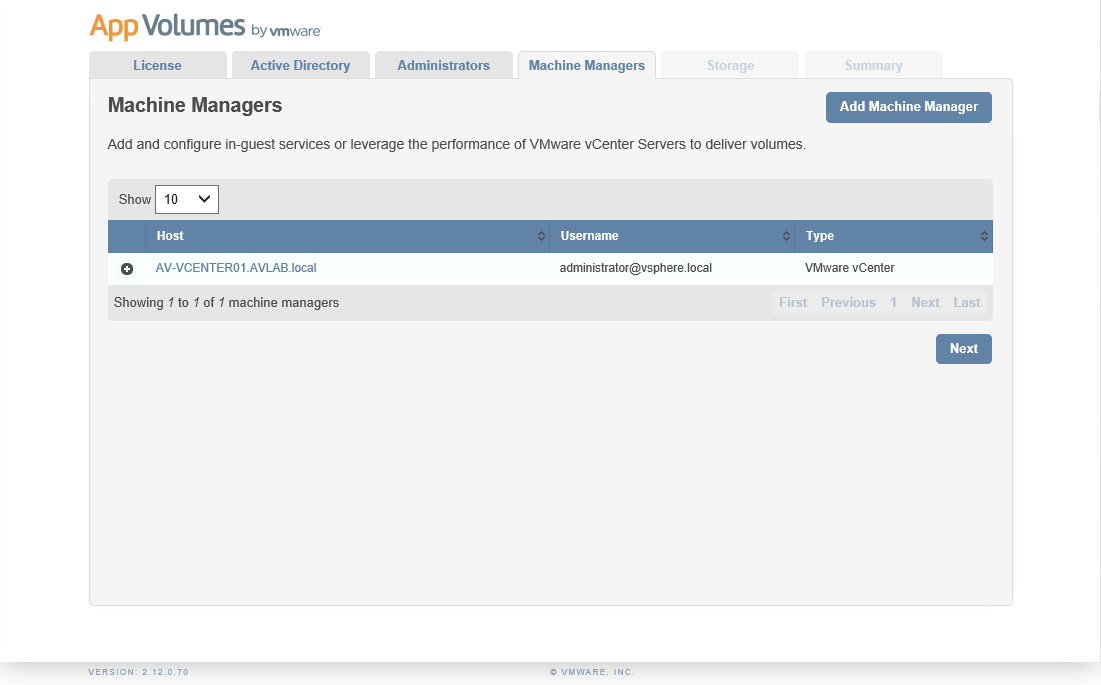
Once the vCenter server is added you’ll be redirected to the Machine Manager tab. Click next to continue.
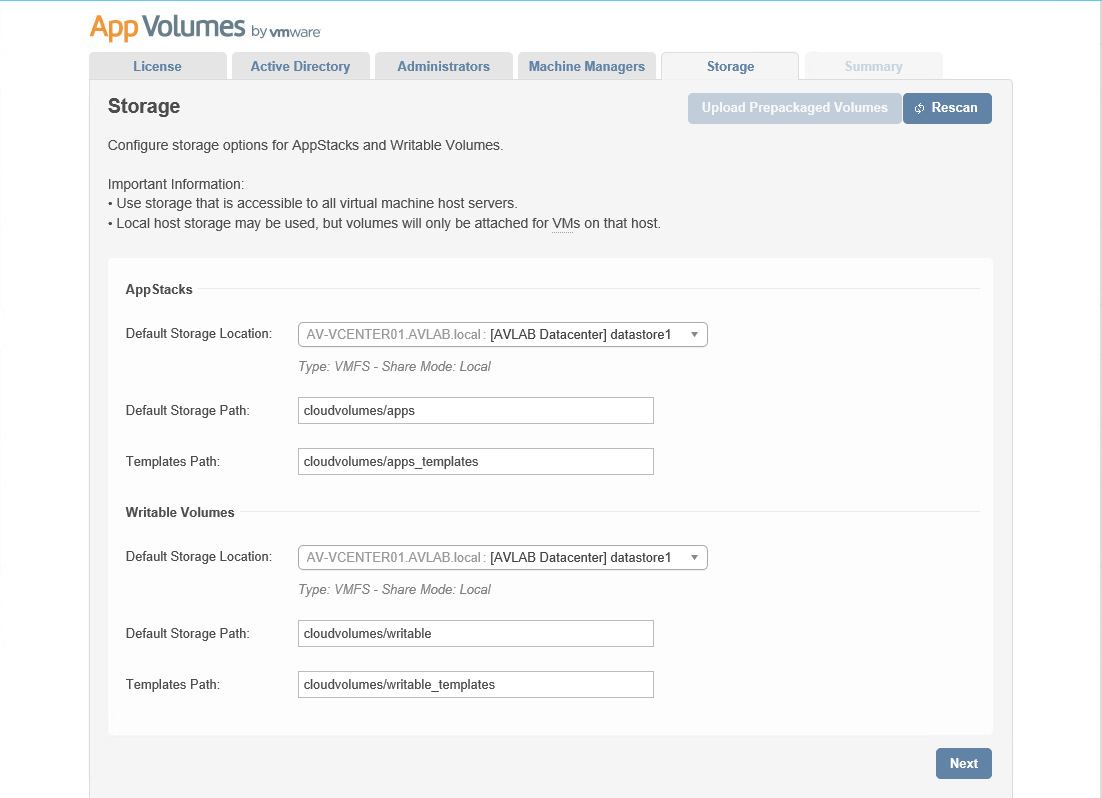
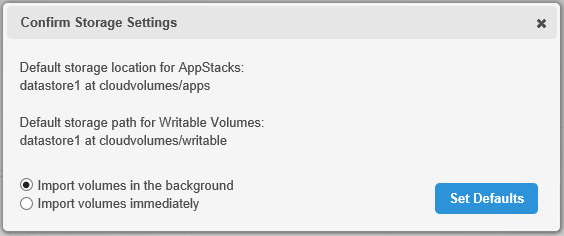
On the Storage tab, select the data stores you want to use for the AppStacks and Writeable Volumes and click next.
Choose if you want to wait for the default volumes to be imported, or if you prefer this to be done in the background. Click set defaults to continue.
Specify the root credentials for the ESXi host and select the VMDK’s you want to upload to the data store.
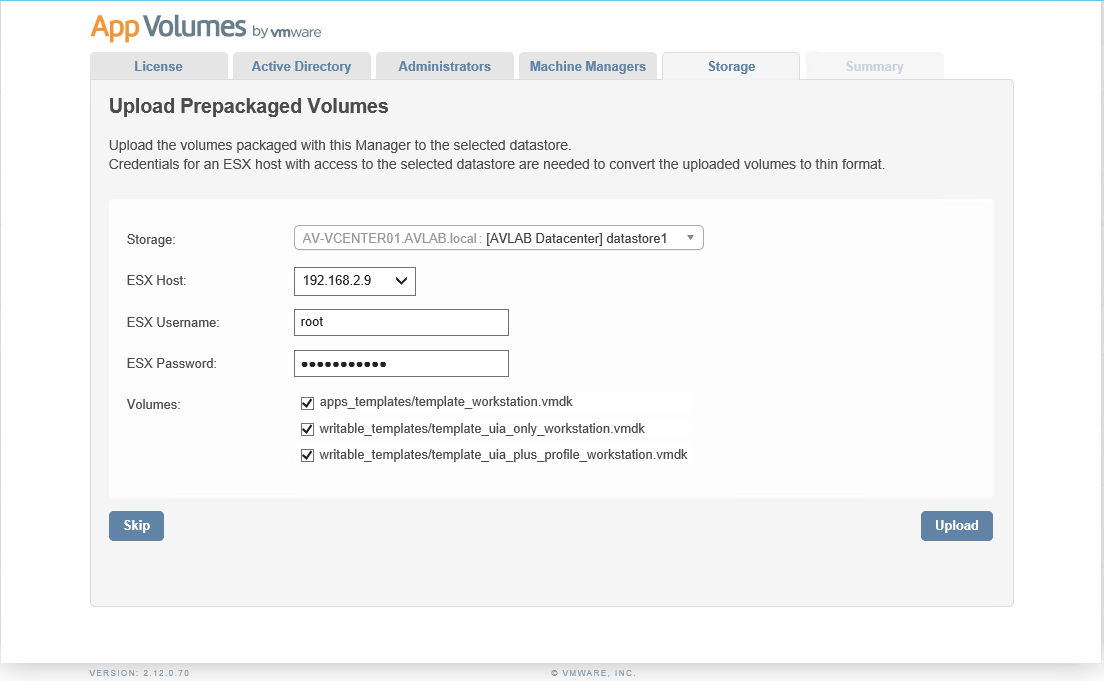
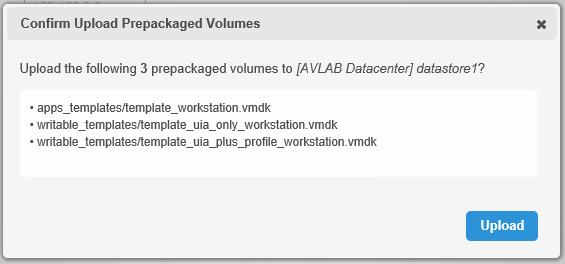
Click upload.
Validate everything on the Summary tab and click next to finalize the configuration of the App Volumes Manager.

Now you should have a fully functional VMware App Volumes deployment and you are able to dive into the world of AppStacks! Start here to learn more about AppStacks.


Je moet ingelogd zijn om een reactie te plaatsen.